Houdini VEX renderer
This article has kind of transformed into a mini tutorial/aimless rambling about raytracing, sorry. The fancy images at the end are the important part here ;) .
So, I’ve started learning Houdini recently and I’ve completely fallen in love already. It’s not always easy, especially in the first few days, but it all starts to make sense now and writing my own operators and more complex stuff in VEX (programming language) is way more fun than I expected. VEX is easy to learn, incredibly fast and has a good mix between low level access and built-in high level functions.
Well, so what is a good way to practice vex and have a bit of fun? … Exactly, writing your own renderer!

AO and point lights
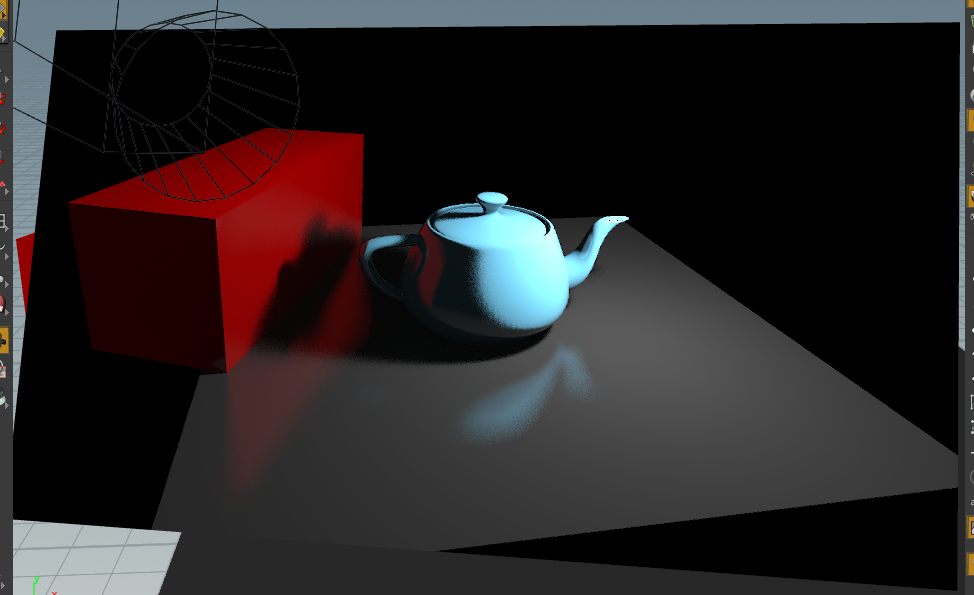
Next step, adding point lights: calculating simple shading using the dot product of the surface normal and light direction and adding it all together with vertex colors. Still looks a bit dull, so adding shadows by tracing a ray from the surface to light. If it hits something on the way, the pixel is in shadow and we return black. AO is then basically the same thing, just shooting random rays in a hemisphere and averaging the hits.

AO and point lights
AO and point lights
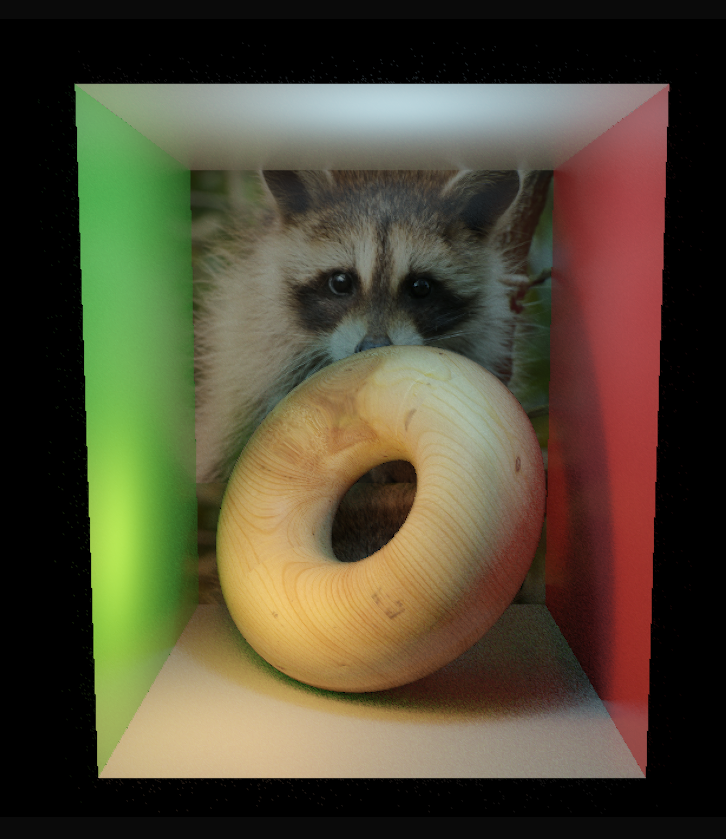
For GI, I basically did all of the above just instead of shooting rays from a camera, I shoot several rays in hemispheric direction from the surface of whatever point on the surface I have hit with my camera ray. Reflections are again the same thing, just a variation of the steps above. Instead of shooting rays from a camera position, I shoot rays in the reflected view direction starting from the position on the geometry I hit.
So, that’s actually all there is for a (very) simple raytrace renderer in Houdini. Some optimizations for the secondary rays (not rendering reflections for all GI rays, clamping GI ray intensity, etc) helped keeping the render times low.
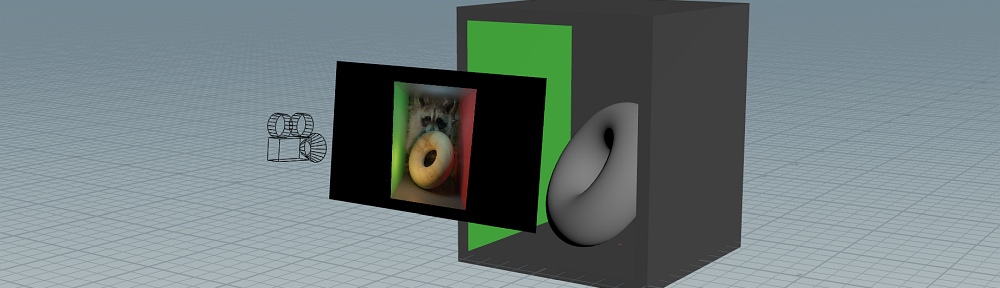
Preview Rendering